
 |
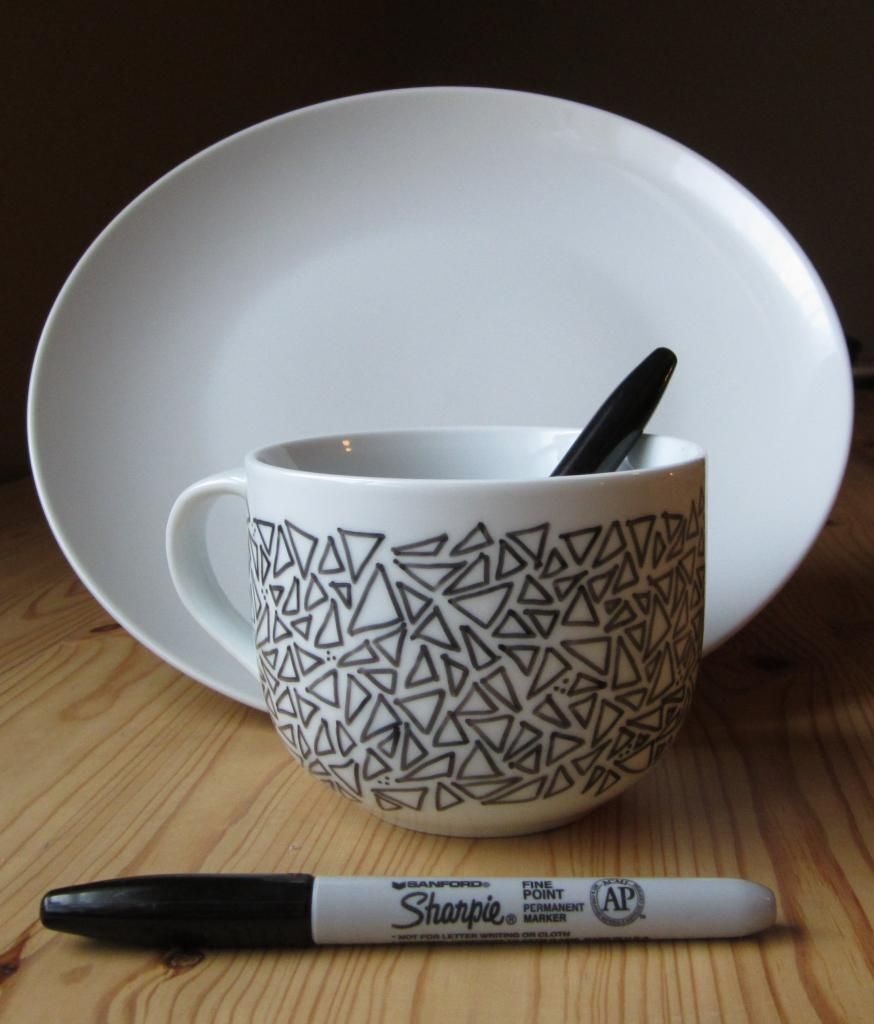
| Sucessfully decorate a mug with a Sharpie |
I've seen countless posts of this craft on Pinterest and other blogs, some with success and some not so much. I decided to give it a try. I mean you can always use another mug now can't you? The trick is to decorate your mug or any dish for that matter with your Sharpie, bake it and enjoy without the ink smudging, washing off, or having the mug explode in your oven.
Glazed vs Non-glazed mug:
The blogs I researched indicated that crafters were evenly split between selecting glazed or non-glazed mugs. So I just bought one from the dollar store. Yep it was glazed, at least I assumed it was glazed because it was shiny. I'm very scientific that way.
Don't forget to remove any labels, glue by washing the mug.
Sharpie:
Now for the Sharpie. Some blogs mention an oil-based Sharpie others not and others mention a ceramic pen. Guess what, I had a plain ol' Sharpie on hand, besides, I have no clue what an oil-based Sharpie looks like anyway.
Black versus colour? I decided against using any coloured markers as the majority of the blogs out there reported the colours did not bake as well as the black one.
Get to it:
The next thing you need is imagination. When I first picked up the marker I felt powerful like Michelangelo, images were running wild, my hand was shaking with anticipation and decided to draw...triangles. I'm very artistic that way. I avoided drawing too close to the lip of the mug because I wasn't certain if the ink would rub off with use. With all the chemicals we end up ingesting these days I like to control the amount of toxins that goes in.
Oh if you do end up making a mistake you can easily wipe the mug clean with some rubbing alcohol. Not the drinking kind that kind goes into the mug.
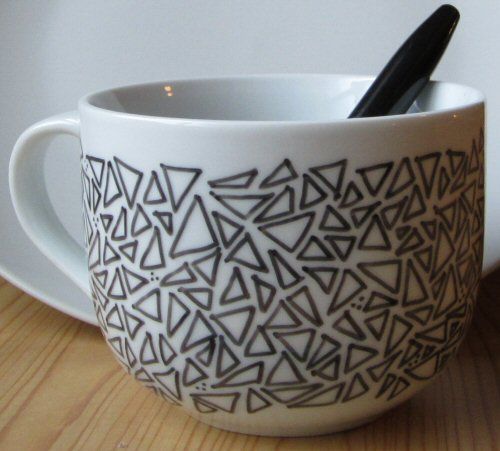 |
| Michelangelo would be proud of my triangles |
Ta Da... now for the bake. I placed the mug on a pizza stone (I'm pretty sure you can use a baking tray for this) and baked for about 40 mins at 450F. Many blogs vary in their information for the bake some say 350 for 30 mins and the top temp I found was 40 mins at 450F. I decided to go with the latter because the mug was glazed.
So should you pre-heat the oven or should you place the ceramics in a cold oven and heat it up to 450F? Again blogs, were inconsistent with these instructions so I went with the latter. I did notice a smell coming from the over after a while so I assume that it was the ink baking into the glaze, and not due to the previous failed oven experiment.
I allowed the mug to cool off in the oven (overnight) and gave them a tentative hand wash in the morning....success! None of the ink came off during the wash, although I did notice some of the black ink had slightly faded from the baking process.
For those of you that like the quick instructions without the blah blah, here you go:
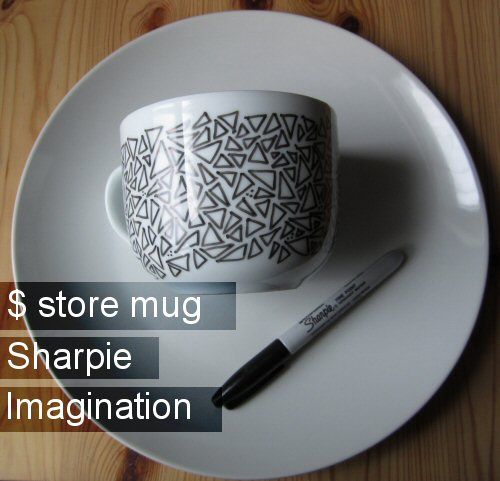 |
| It actually works! |
You need:
- $ store mug
- Black Sharpie
- Imagination
- Oven
- Wash mug to remove labels, glue and stickers. Fully dry.
- Draw on mug with Sharpie taking care not to smudge your artwork.
- Place on baking tray in a COLD oven turn oven to 450F. Once the oven reaches 450F start timer for 40 mins.
- After 40 mins, turn off oven, leave mugs inside oven to cool off slowly. (overnight is good)
- Once cooled, test out by hand washing your mug.
Thanks so much! I like the simple idea and I will try it. Seems it would make quick and easy gifts. Thanks for sharing.
ReplyDeleteHi. Thanks for this post. I've been thinking of decorating some ceramic molds at a local shop. But this is a great way to try out decorating cups and plates.
Delete@Ginger and Linda. You are both very welcome. I had not realized how easy this was. Have fun with it
Deletedid you use a glaze?
ReplyDeleteand has the sharpie worn with washing or use?
Hi @Cambria, I did not use a glaze, the mug was already pre-glazed. The Sharpie has stood up to handwashing quite well. I am very impressed with it. I must have washed it a dozen times since the project.
DeleteDo you know if the finished mug can go in the microwave?
ReplyDelete@Dara I haven't tried it yet but I would assume that it would. I'll have to do that tonight and see :-)
ReplyDelete@Dara the mug worked fine in the microwave. The ink didn't fade.
Deletehow long do you microwave it?
DeleteHow long in the microwave?? And is it in high or medhigh ??
DeleteHow long in the microwave?? And is it in high or medhigh ??
DeleteHi,I have prepared a mug but I have a microwave. Can u please tell me for how long I have to keep it in it and in which mode ?
ReplyDeleteDid anyone find out how long to microwave the sharpie mugs? i'm at work and need it done today. thanks!
ReplyDeleteI tried this and loved it ! My mug survived many many washes. Eventually the ink was quite faded so I used a scouring pad, scrubbed all the ink off my mug and re- decorated it :)
ReplyDeleteYes, finally a handmade design I can put in the dishwasher! It looks fabulous!
ReplyDelete